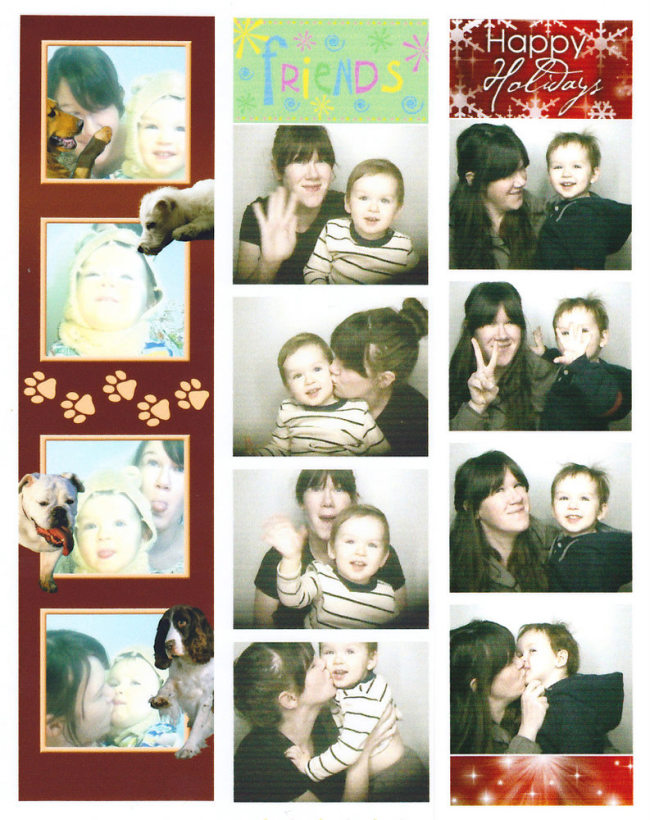
DIY photobooth-style family photos
 Wednesday, December 12, 2012 at 5:34PM
 The other morning on the radio, I heard a piece about hipsters: what defines a hipster, what sorts of things they like. It was kind of inadvertently funny, but had an interesting takeaway. Hipster culture is, one interviewee posited, a byproduct of a generation unable to display sincere emotion. Nothing can be enjoyed for its own sake, but must be enjoyed "ironically," presumably, I guess, because that lends the participants plausible deniability.
I'm definitely guilty of this sort of tendency to downplay my enjoyment through irony. Case in point: Though I've been decorating our house for the holidays since we moved, I've only this week stopped apologizing for the dorkiness and admitted that I just like holiday decorations.
Anyhoo, long story (not very) short, I hesitated to make the photobooth canvas Hanukkah project I'd chosen because I thought it might be too goofy, not arty or offbeat enough for our walls. Yes! That was stupid. Even after it was done, I asked Nathan if it wasn't too silly to hang up. I've only recently warmed to the concept of having family photos around the house (photos of family members who live in the home, that is), so this one was a stretch for me. I'm glad I went for it, because it's so cute. So, so cute. And here is how I did it (sorry for the funky formatting. All the info is there and I don't care enough to mess with it):
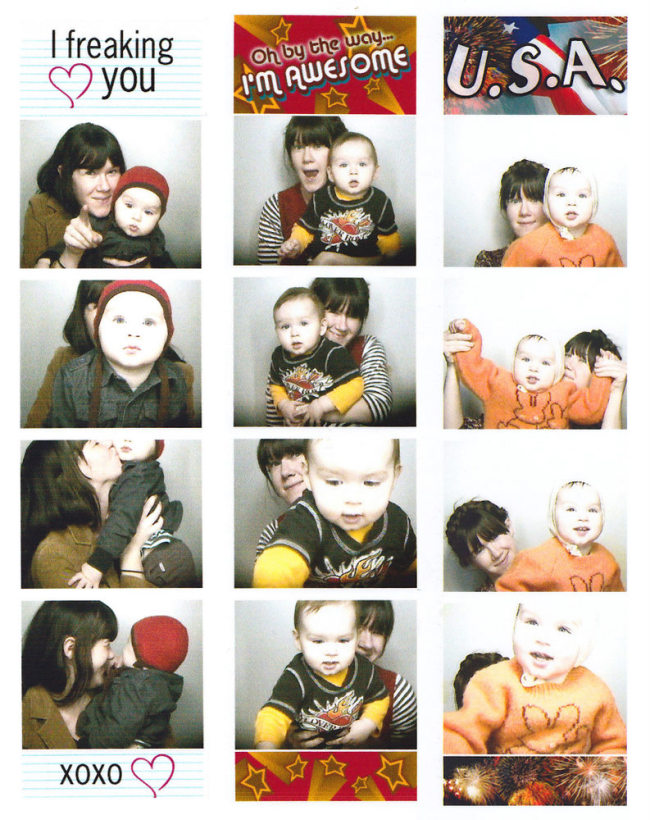
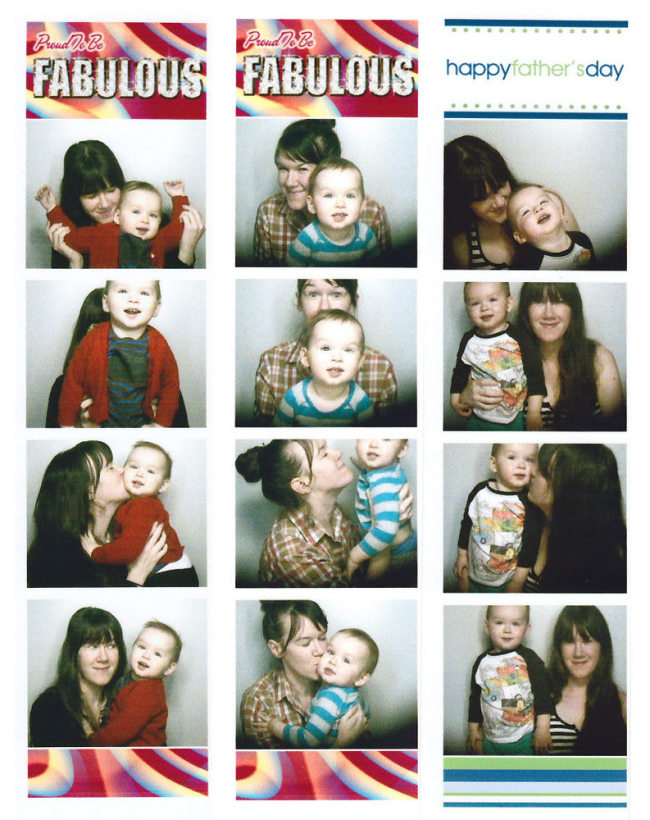
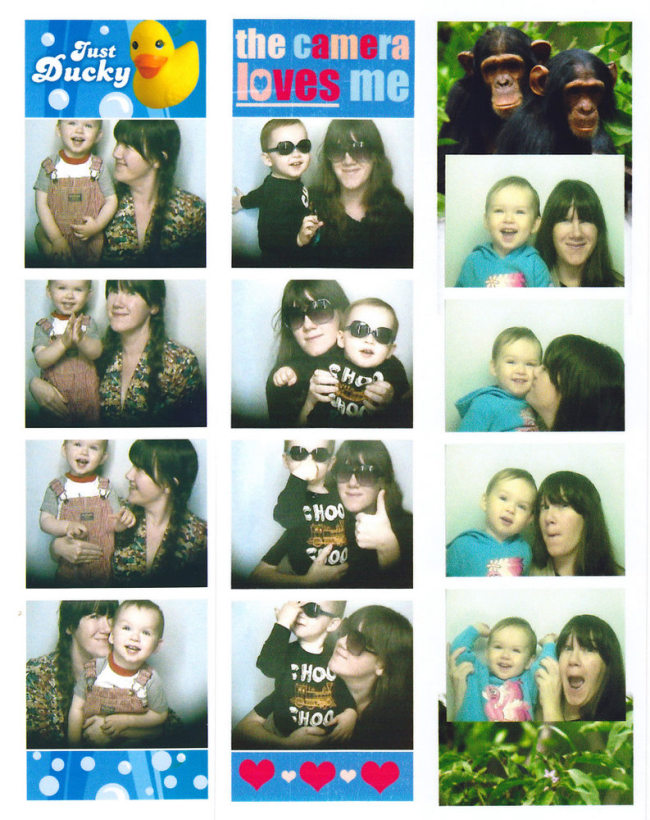
To make the pictures look like they were taken in a photo booth, we positioned ourselves in front of the living room curtains, then, in Picasa, made them black and white and used the vignette tool.
I gathered my materials:
- an 8x24" stretched canvas (not pictured)
- mod podge (matte)
- foam brush
- scissors
- 4 5x7 family photos, B/W copied
I cut the pictures out, and left a small border but wish I hadn't.
I then laid out the pictures where I wanted them, switching up the order until they looked right. In my case, Nathan and I have the darkest/most hair, so putting our pictures next to each other looked bad.
For the mod podge initiated this will be obvious, but for those who don't frequently decoupage it may feel like you're screwing up your pictures. You are not! Brush a thick coat of mod podge onto the back of each picture, making sure to get the corners and edges. Stick them in place one by one and smooth out the bubbles, working from the middle to the outer edges.
Your paper will bubble up a little no matter how diligently you smooth, but don't worry. It'll dry flat.
After you've placed your pictures where you want them and smoothed them all out, you can sit back and get a preview of how it's going to look when finished.
Adorable?
Great!
Next!
Cover the whole surface with a thick coat of mod podge, being careful not to loosen any of your edges. I try to go in the same direction though I'm not sure it matters.
Let the first coat dry (15-20 minutes) and do another coat. I did three coats and was really concerned about some major bubbling that was making George look like he'd been punched in the eye.
I decided to leave it overnight to see if the bubbles went away, and they did! There are a few small creases and wrinkles, but I think that adds to the charm.
I hope yours turns out just as cute as ours!
 crafts,
  diy,
diy,  family photos,
  photo booth,
  tutorial in
  makey
makey 

